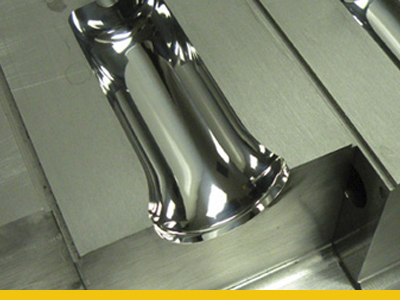
So your customer has given you a surface finish value that you have to hit and you are not sure about the value in your normal standard.
Not to worry. There is a way.
Types of finishes:
| Types of Finishes |
Current SPI Finish Numbers |
Description and Previous Finish Numbers |
Ra, µm | ||
| Diamond |
#3 Diamond Buff
|
A1 |
Lens / Mirror
|
#1 | 0.025 |
|
#6 Diamond Buff
|
A2 |
High Polish parts
|
#2 | 0.05 | |
|
#15 Diamond Buff
|
A3 |
High Polish parts
|
0.1 | ||
| Paper |
600 Grit
|
B1 |
Medium Polish
|
#3 | 0.2 |
|
400 Grit
|
B2 |
Medium Polish
|
0.4 | ||
|
320 Grit
|
B3 |
Medium – Low Polish
|
0.8 | ||
| Stone |
600 Stone
|
C1 |
Low Polish
|
#4 | 1.6 |
|
400 Stone
|
C2 |
Low Polish
|
3.2 | ||
|
320 Stone
|
C3 |
Low Polish
|
6.3 | ||
| Dry Blasted |
#11 Glass Bead
|
D1 |
Satin finish
|
#5 | 12.5 |
|
240 Aluminum Oxide Blast
|
D2 |
Dull Finish
|
25 | ||
|
#24 Aluminum Oxide Blast
|
D3 |
Dull Finish
|
50 | ||
Comparison between standards:
N = New ISO scale numbers
Rt = Roughness, total in microns
Ra = Roughness, average in microns
CLA = Centre Line Average in microinches
RMS = Root Mean Square in mircoinches
| N | Rt | Ra | CLA | RMS | Cut-off Inches |
length mm | ||
| 1. | 0.3 | 0.025 | 1 | 1.1 | 0.003 | 0.08 | ||
| 2. | 0.5 | 0.05 | 2 | 2.2 | 0.01 | 0.25 | ||
| 3. | 0.8 | 0.1 | 4 | 4.4 | 0.01 | 0.25 | ||
| 4. | 1.2 | 0.2 | 8 | 8.8 | 0.01 | 0.25 | ||
| 5. | 2.0 | 0.4 | 16 | 17.6 | 0.01 | 0.25 | ||
| 6. | 4.0 | 0.8 | 32 | 35.2 | 0.03 | 0.8 | ||
| 7. | 8.0 | 1.6 | 63 | 64.3 | 0.03 | 0.8 | ||
| 8. | 13 | 3.2 | 125 | 137.5 | 0.1 | 2.5 | ||
| 9. | 25 | 6.3 | 250 | 275 | 0.1 | 2.5 | ||
| 10. | 50 | 12.5 | 500 | 550 | 0.1 | 2.5 | ||
| 11. | 100 | 25.0 | 1000 | 1100 | 0.3 | 8.0 | ||
| 12. | 200 | 50.0 | 2000 | 2200 | 0.3 | 8.0 | ||


